|
Once you have composed your html message, you are ready to move though the tabs (highlighted in red below) which will guide you through the process of sending your first mail.
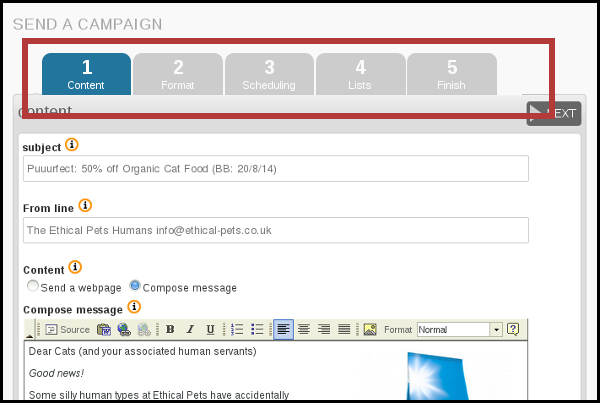
If you have a template set up already then the Format gives you the opportunity to choose it by selecting it from the Use template drop down. Your html message will then be wrapped in the template during the sending phase.
You can send a test message using the Send test box at the bottom of the page, to see what your email will look like.
Click next when you have selected your template. If you do not yet have a template, leave the -- select one in the dropdown and click next.

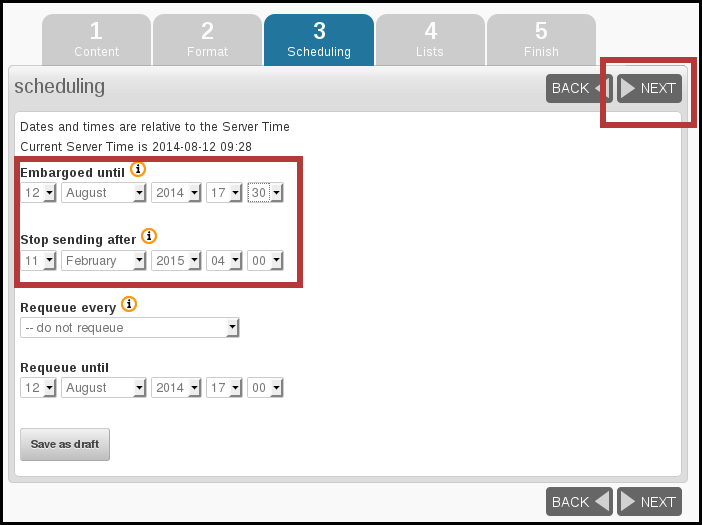
After your tests you need to schedule your campaign on tab 3: Scheduling. Remember, some plugins and settings add extra tabs so the tab number may change (but the name should stay the same).
In this case we want to send the mail straight away, so the Embargoed until time needs to be left as the default, which is slightly in the past.
Additionally, because this campaign is not time sensitive, for example there is no deadline for the special offer, we can leave the Stop sending after time and date as the default too (far in the future).
When you have finished entering the scheduling information, click next.
One of the final stages in the campaign workflow is to choose the list(s). In this case there is only one list to choose from, which is The Ethical Pets Gazette. The options for All Lists and All Active Lists are also useful; the former sends to every list, public or private, and the latter sends to all public lists.
Remember that Blink Mailer will only send each subscriber one copy of each campaign, even if they are on several lists: you don't need to worry about sending people duplicate copies.
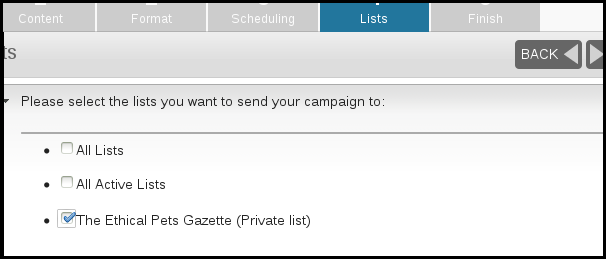
Once you have chosen your lists click Next
Sending in Blink Mailer is a powerful tool with many possible configurations. It is possible that your system administrator will give you different instructions for sending or will send on your behalf.
The final tab in the sequence contains a few useful details and the button which triggers sending.
First of all you can chose some emails that you wish to alert when your campaign starts sending and finishes sending. This can help you stay organised.
You can also choose to Reset click statistics - this means that any clicks or opens recorded when you were testing your campaign will be forgotten, so when you get new clicks and opens you know they are from your subscribers.
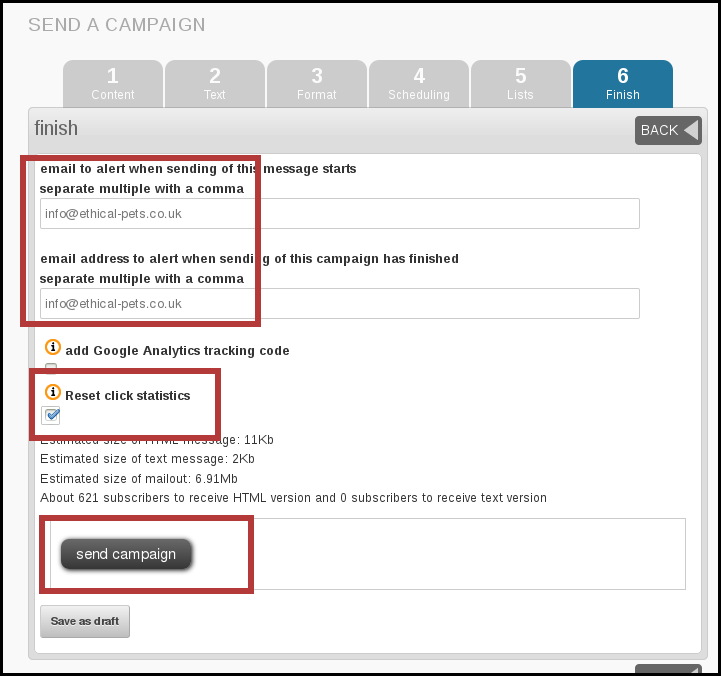
When you are ready to send, click send campaign.
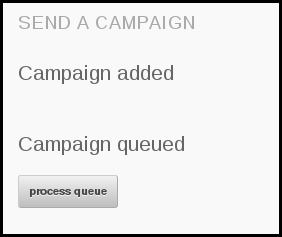
Clicking send will add your campaign to your queue. There may be only one campaign in the queue, or there may be several. Click process queue to send the campaign now.
You will see the queue start to process, with a spinning logo.
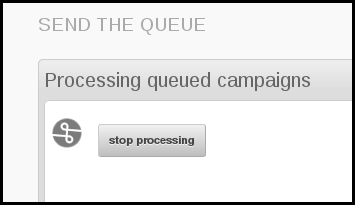
Next you will see something like the image below, depending on how your system is configured.

Blink Mailer is configured to run in the background so there is no need for you to leave the page open or your computer on. Alerts will be sent out every time 450 emails are sent (every 2 hours) and when the campaignhas been completed.
|


